
Windows 11 is the latest operating system from Microsoft. It requires a minimum of 4GB RAM and a 64-bit CPU. In this tutorial, we'll guide you through running Windows 11 on Proxmox VE. Before starting the installation, you'll need the following:
If you meet these requirements, proceed to the Proxmox server and upload both ISO files. Access the Proxmox server dashboard and click on Create VM.
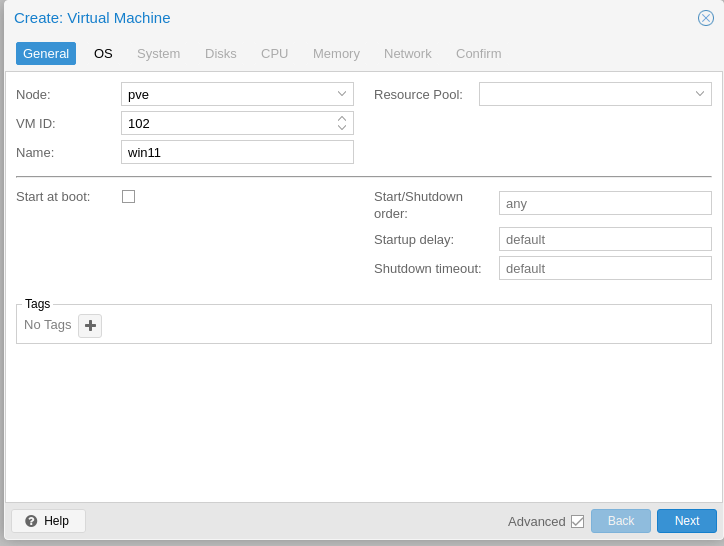
In the General tab, input your VM ID (which identifies the virtual machine) and create a name for the Virtual Machine. Click Next.
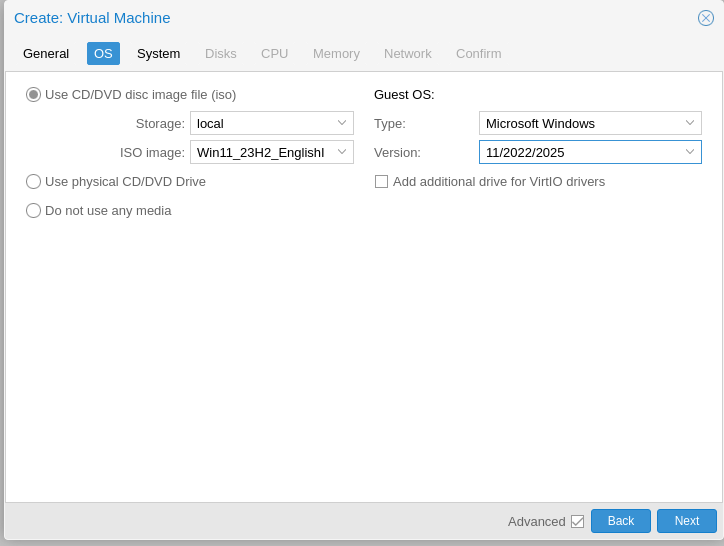
On the next page, select the Windows 11 ISO file as the operating system's disk image file. Do not select the VirtIO disk image file. For OS Type, choose Microsoft Windows and for Version, select 11/2022/2025. Click Next.
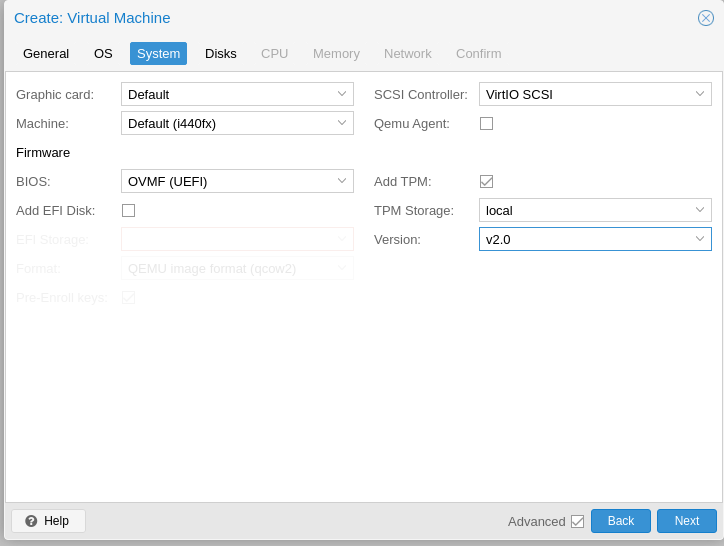
For System Information, select the default Graphics Card, choose default (i440fx) for Machine type, OVMF(UEFI) for BIOS, and VirtIO SCSI for SCSI Controller. Tick the TPM option and select your disk drive for TPM storage. Choose TPM Version 2.0. Input all details and click Next.
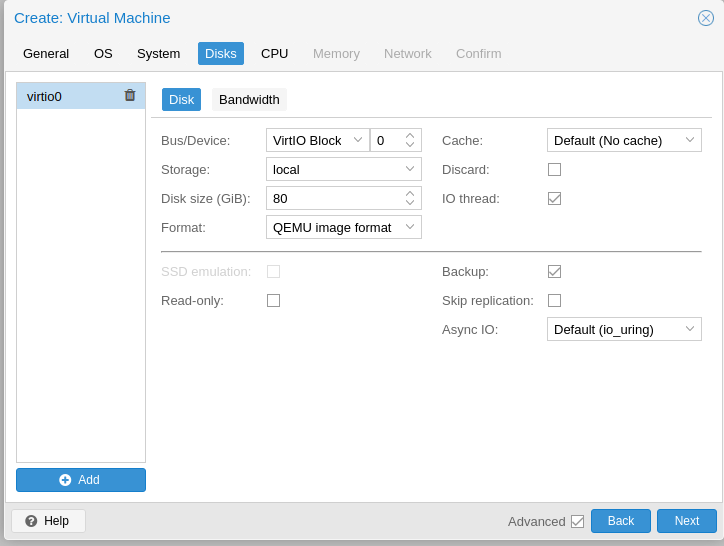
On the next page, create a disk file. In the Bus/Device section, select VirtIO Block. For Disk Size, allocate a minimum of 80GB storage. For disk type, select QEMU disk image format. Click Next.
Input CPU details next. Select the number of sockets according to your hardware and cores according to your CPU. In the CPU section, select Host and click Continue.
Set the memory for the VM. Input a minimum of 8GB RAM. While 4GB RAM works, it will make your VM slow. Click Next.
Select the Bridge adapter if internet is available. For Network Hardware Model, choose Intel E1000 as the network card. Proceed to the next page.
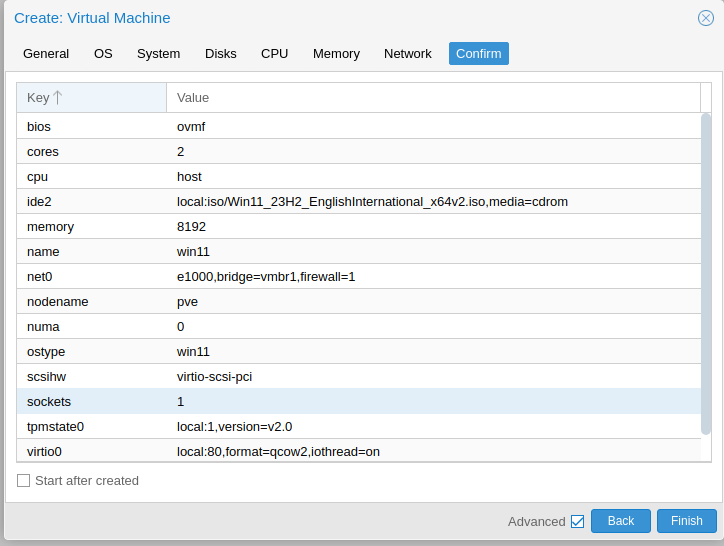
Review your VM settings. If everything looks correct, confirm and create the virtual machine.
Don't start the VM yet, as drivers aren't loaded. Click on the VM, select the hardware option, and add a CD/DVD drive with the VirtIO-Win ISO attached. In VM Options, set the boot order to:
- Windows 11 ISO file
- VirtIO-Win ISO
- Virtual Machine Hard drive
- Network
After setting all options, click OK to save changes. Go to the VM console and click Start Now to begin the VM.
The Proxmox configuration process is now complete, and you can start installing Windows 11. Follow the on-screen prompts to select your language, enter your product key or select I don't have a product key, choose your Windows edition, and agree to the terms and conditions.
When selecting the disk drive, choose Customized: Install Windows only (Advanced). If no disk is detected, you'll need to load the VirtIO driver. Click Load driver, browse to VirtIO disk/win/amd64/w11, select the first file, and load it. Windows should now detect your disk. Select it and start the installation process.
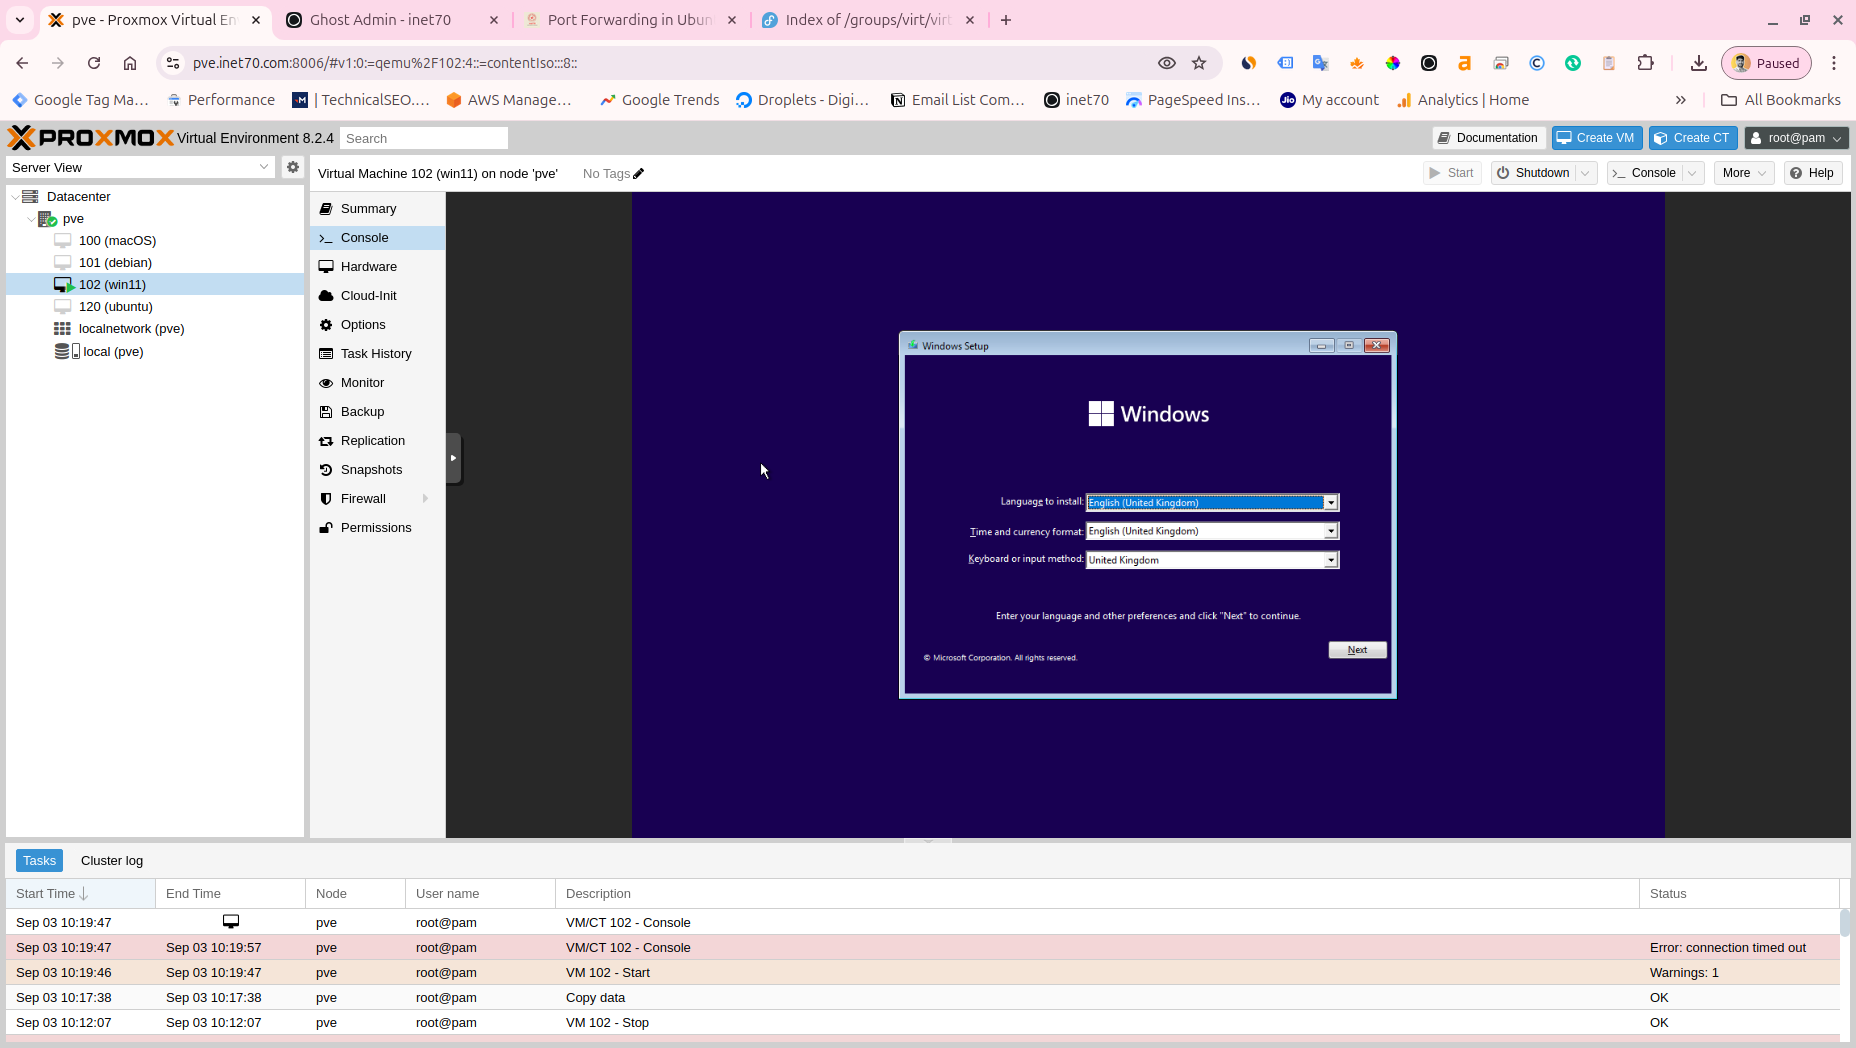
After installation, you'll be asked to select your country and keyboard layout. If your VM gets stuck at the networking option due to Proxmox server not sharing internet, you can bypass it. Press Shift+F10 to open the command prompt, then input oobe\Bypass NRO to relaunch the setup process. You should now see an I don't have internet connection option on the networking tab.
Complete all steps and create your Windows user credentials. If you have an internet connection, you'll need to add a Microsoft account.
Once Windows 11 is successfully installed, shut down the Windows VM. Go to the VM Hardware section, remove both ISO images, and in the boot options, set booting from the hard disk as primary. Save your changes, and you're done!


