On Windows 11 desktop, you can display the beautiful default Desktop icons. However, if you don't like them or need to add your company or organization icons to your desktop, or add custom icons for any software or service, you can follow my method to completely customize them. Here, I can provide solutions for both adding icons to your System apps and adding custom icons to third-party software.
You can fully customize all your software icons for fun and technical purposes. However, you cannot directly use any image as an icon. Before use, you need to convert it into the icon format. You can do this by clicking here.
Simply upload the image, scroll down to the last option to export as .ico format, and save it on your computer. Now, follow the next steps to change the icon.
Change icon on Windows 11
By default, the Windows Desktop displays icons such as This PC, Recycle Bin, Control Panel, Network Drive, and more software and services. To change the icons and set your custom icons, first go to Settings. On the left side panel, find the Personalize section. Click on Themes, and inside Themes, you'll find Desktop Icon Settings.
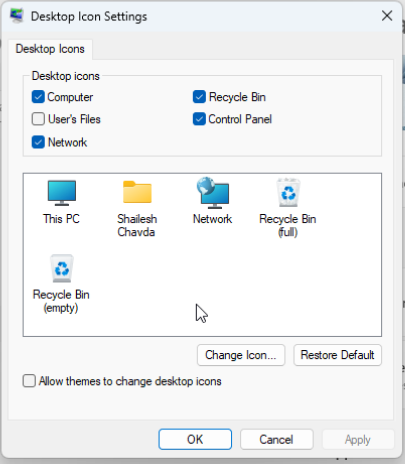
A small window will open. Select any desktop icon to show the change icon option. By default, Windows shows many icon options you can choose from. If you need to add a custom icon, select Choose from Local device option. Navigate to your custom icon location and select your new icon.
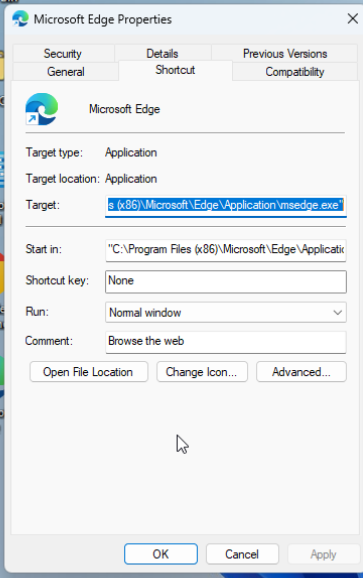
For third-party software not listed here, go to the desktop, right-click on the software icon, click on Properties, then click on Change Icon and set your custom icon.
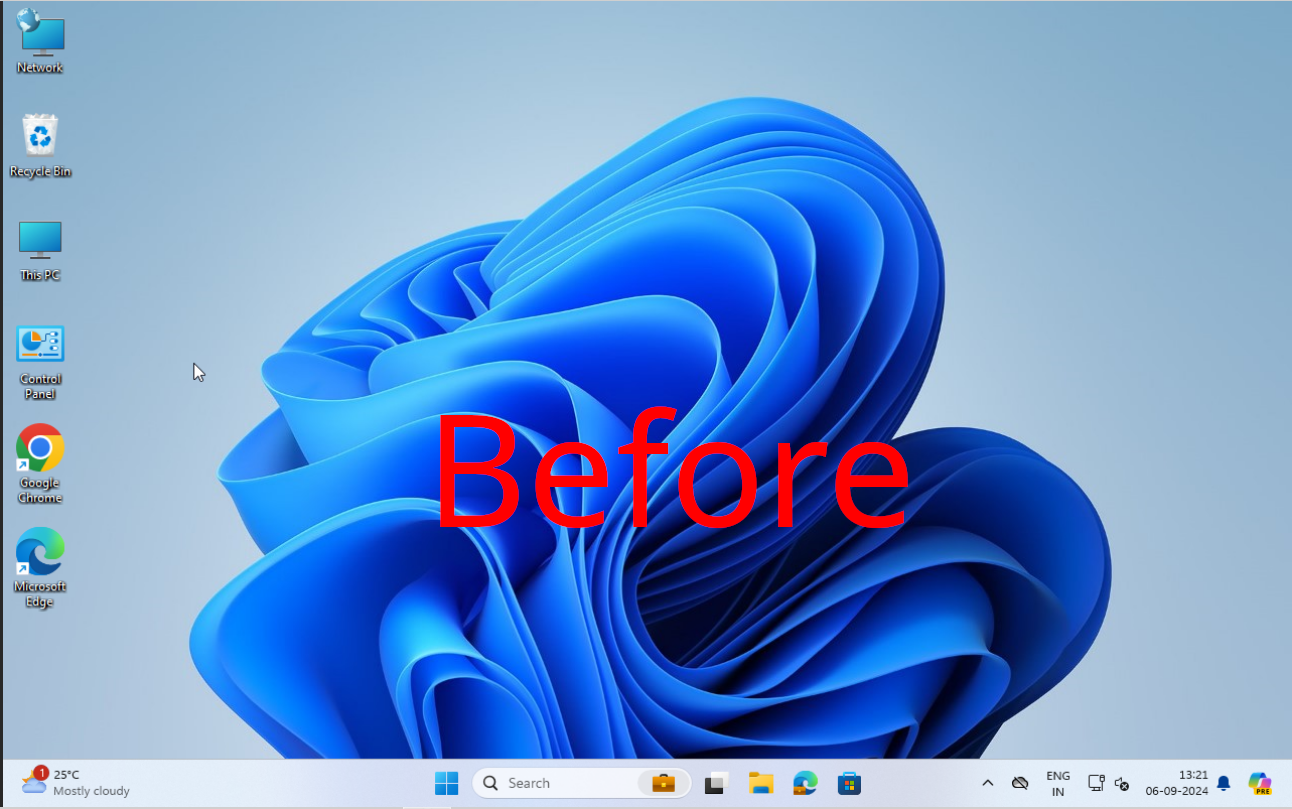
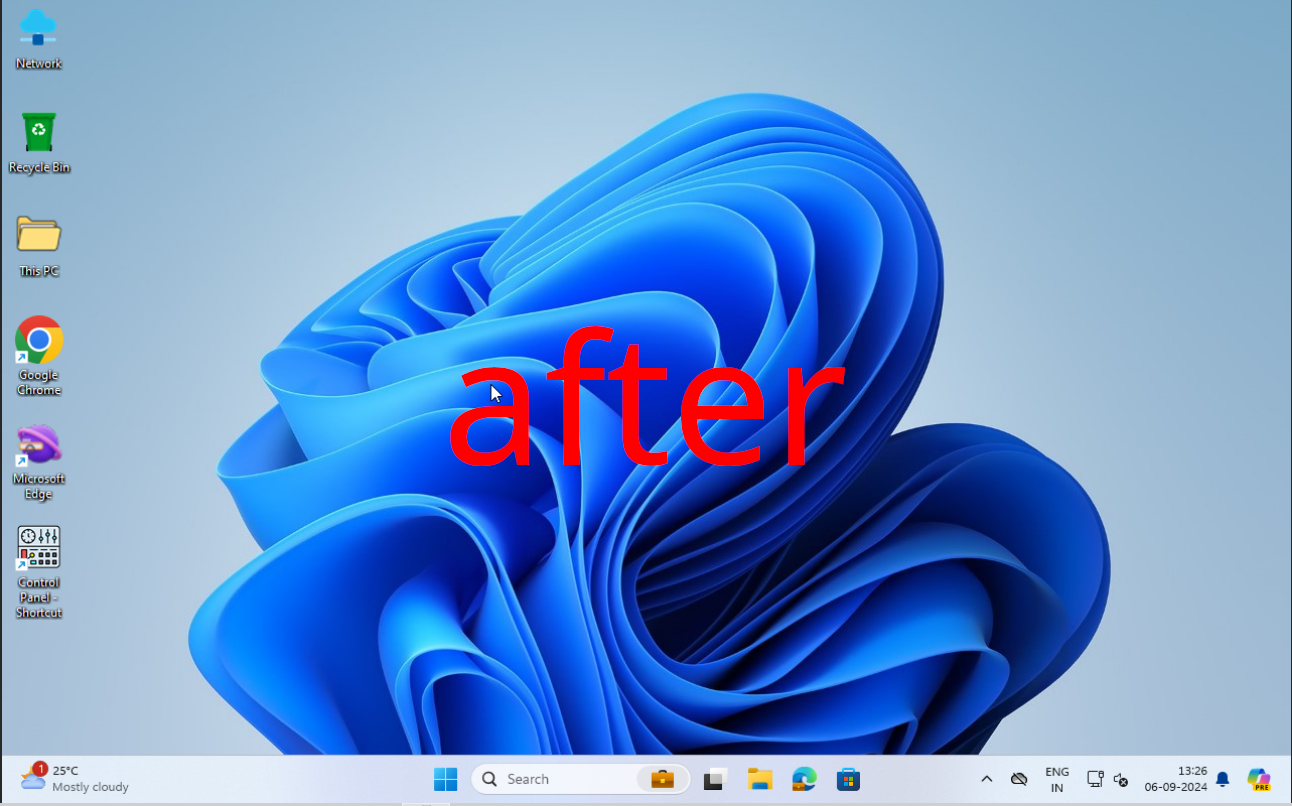
windows icons before and after
You can see the before and after of changing custom icons on your desktop. If you need, you can download my icons and set them on your desktop.


